Easy Pumpkin Roll: Master the Cream Cheese Filling & Achieve No Cracks
The crisp air of autumn, the warm glow of holiday lights, and the comforting aroma of pumpkin spice – these are the hallmarks of a season filled with warmth and delicious traditions. And at the heart of many cherished memories lies the pumpkin roll, a dessert that looks elegantly complex but is surprisingly simple to master. Forget any intimidation you might feel about rolling a delicate cake; with our comprehensive guide, you’ll not only achieve a flawless, crack-free roll but also perfect a luscious cream cheese filling that will have everyone asking for your secret recipe. This isn't just a dessert; it's an experience, a cozy fall treat that perfectly encapsulates the spirit of the season.The Allure of the Perfect Pumpkin Roll
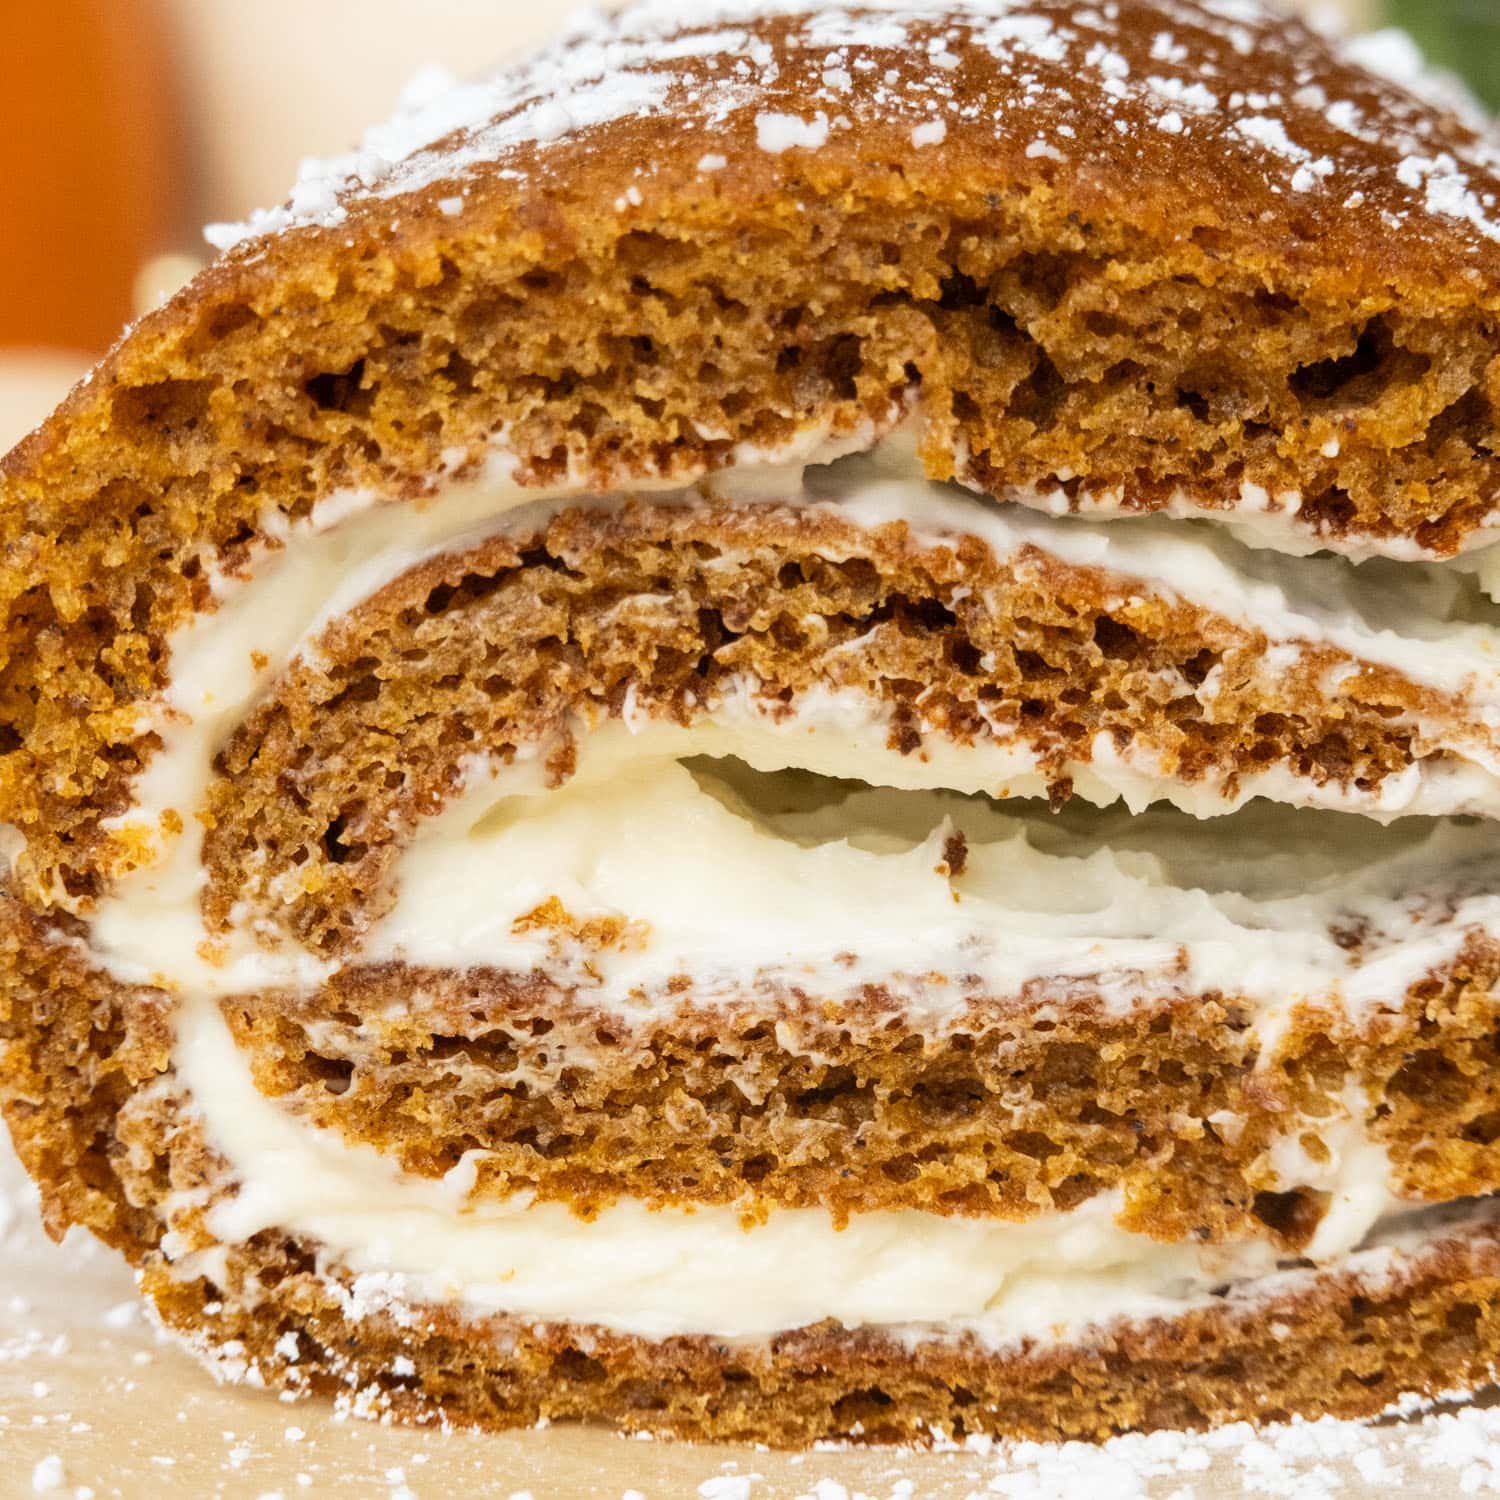
Imagine a moist, tender pumpkin cake, generously spiced with cinnamon, nutmeg, ginger, and cloves, delicately rolled around a rich, tangy, and utterly irresistible cream cheese filling. This classic pumpkin roll with cream cheese filling is more than just a sweet treat; it’s a showstopper that consistently wows family and friends. Its beautiful spiral presentation makes it ideal for Thanksgiving, Christmas, or any autumnal gathering, adding a touch of homemade elegance to your dessert table. Many are intimidated by the "rolling" aspect, fearing cracks or breakage. But we're here to demystify the process. With the right technique and a little confidence, you'll discover that creating a perfectly rolled pumpkin cake is entirely achievable, even for novice bakers. The key lies in understanding a few crucial steps and the timing involved, transforming what seems like a daunting task into a genuinely enjoyable baking adventure.Mastering the Moist Pumpkin Cake: The Foundation of Your Roll
The secret to a successful pumpkin roll begins with a perfectly baked cake – one that’s moist, flavorful, and pliable enough to roll without cracking.Choosing Your Pumpkin Puree:
- Canned Pumpkin Puree: This is the easiest and most consistent option. Ensure you select 100% pure pumpkin puree and not pumpkin pie filling, which contains added spices and sugar that will throw off your recipe's balance.
- Homemade Pumpkin Puree: For an extra touch of freshness, you can certainly use homemade pumpkin puree. Just make sure it’s well-drained to avoid adding excess moisture to the batter.
Crafting the Batter:
- Dry Ingredients First: Combine your flour, baking soda, baking powder, and a generous blend of pumpkin pie spices (cinnamon, nutmeg, ginger, cloves) in one bowl. Whisk them thoroughly to ensure even distribution.
- Wet Ingredients: In a separate bowl, combine your pumpkin puree, eggs, sugar, and a touch of vanilla extract. For the best emulsion and a smooth batter, ensure your eggs are at room temperature.
- Combine Gently: Gradually add the dry ingredients to the wet, mixing just until combined. Overmixing can develop the gluten in the flour, leading to a tough cake that's prone to cracking. A light hand is key here.
Baking for Success:
- Prepare Your Pan: A standard 15x10-inch rimmed baking sheet is ideal. Line it with parchment paper and then spray the parchment lightly with cooking spray. This double protection is your best friend for easy release.
- Spread Evenly: Pour the batter onto the prepared baking sheet and use an offset spatula to spread it into an even layer, ensuring consistent thickness. This guarantees even baking.
- Don't Overbake: Bake until the cake springs back lightly when touched, typically around 13-15 minutes. A slightly underbaked cake is more flexible and less likely to crack during rolling. Watch those edges – if they look thin and browned, you can trim them slightly after baking.
The Secret to a Crack-Free Roll: Technique and Timing
This is where many bakers feel intimidated, but it's simpler than you think! The trick is to roll the cake while it's still warm and pliable.- Prepare Your Rolling Surface: While your cake bakes, lay out a clean, lint-free kitchen towel or a large sheet of parchment paper. Lightly dust it generously with powdered sugar. This prevents the warm cake from sticking and adds a lovely finish.
- Immediate Action: As soon as the cake comes out of the oven, run a thin spatula around the edges to loosen it from the pan. Then, carefully invert the hot cake onto your prepared, sugar-dusted towel/parchment. Gently peel off the parchment paper that was on the bottom of the cake.
- The Initial Roll: Starting from one of the short ends, carefully and gently roll the warm cake (along with the towel/parchment) into a log. The warmth of the cake makes it flexible, and rolling it immediately sets its "memory" in that coiled shape.
- Cool Completely: Place the rolled cake, still wrapped in the towel/parchment, seam-side down on a wire rack. Allow it to cool completely to room temperature, which helps the roll maintain its shape. You can even pop it in the fridge for a quick cool-down once it's no longer hot.
Crafting the Irresistible Cream Cheese Filling
The filling is the harmonious counterpart to the spiced pumpkin cake. Its creamy, slightly tangy sweetness perfectly balances the robust flavors of autumn.Key Ingredients for a Silky Filling:
- Full-Fat Cream Cheese: Always opt for full-fat block cream cheese. Lower-fat versions can be too watery and won't set as firmly.
- Unsalted Butter: Good quality unsalted butter adds richness.
- Powdered Sugar (Confectioners' Sugar): This provides sweetness and helps stabilize the filling. Sift it to avoid lumps!
- Vanilla Extract: A generous splash enhances all the flavors.
The Art of a Lump-Free Filling:
- Room Temperature is Non-Negotiable: Ensure both your cream cheese and butter are softened to room temperature. This is perhaps the most critical step for a smooth, lump-free filling. Cold ingredients will result in a lumpy, inconsistent texture.
- Cream Together: In a mixing bowl, beat the softened cream cheese and butter together until light, fluffy, and completely smooth. Scrape down the sides of the bowl frequently.
- Add Sugar Gradually: Gradually add the sifted powdered sugar, beating on low speed until fully incorporated. Then, increase the speed and beat until the filling is light and airy.
- Vanilla Finish: Stir in the vanilla extract. Be careful not to overmix once the sugar is added, as this can sometimes thin out the filling. The final consistency should be spreadable yet firm enough to hold its shape.
Assembling Your Masterpiece & Pro Tips for Success
With your cake cooled and your filling ready, it's time for the grand finale!- Unroll with Care: Gently unroll the cooled pumpkin cake from the towel/parchment onto a clean surface. It should retain its rolled shape.
- Spread the Filling: Using an offset spatula, spread the cream cheese filling evenly over the entire surface of the cake, extending almost to the edges. Leave about a half-inch border on one of the long edges to ensure the filling doesn't squish out excessively when re-rolling.
- The Final Roll: Starting from the short end closest to you, gently and slowly re-roll the cake, this time without the towel/parchment. Use the underlying parchment or your hands to guide the roll, keeping it tight and even. Once fully rolled, gently press the seam down.
- Chill for Perfection: Carefully transfer the rolled cake, seam-side down, to a serving platter or a piece of plastic wrap. Wrap it tightly and refrigerate for at least 1-2 hours. This chilling time is crucial for the filling to firm up and for the cake to set, making for clean, beautiful slices.
Pro Tips for the Best Pumpkin Roll:
- Make Ahead Magic: This pumpkin roll is an ideal make-ahead dessert. You can prepare it up to 2-3 days in advance and keep it tightly wrapped in the refrigerator. The flavors actually meld beautifully over time!
- Freezing for Later: For longer storage, wrap the chilled pumpkin roll tightly in plastic wrap, then in foil, and freeze for up to 1 month. Thaw in the refrigerator overnight before serving.
- Slicing Like a Pro: For clean slices, use a sharp, thin-bladed knife. It helps to run the knife under hot water and wipe it clean between each slice.
- Garnish Simply: Before serving, a simple dusting of powdered sugar (perhaps through a stencil for a festive touch) is all you need to elevate its presentation.
Embrace the cozy magic of autumn by bringing this exquisite pumpkin roll with cream cheese filling to your table. The blend of warm spices, tender cake, and creamy, dreamy filling is simply unparalleled, offering a taste of tradition and a touch of homemade luxury. It's a dessert that speaks of comfort, celebration, and the joy of sharing something truly special. So go ahead, don your apron, gather your ingredients, and prepare to impress everyone with your newfound pumpkin roll mastery!
